
How to approve in KTH-Expense
In KTH-Expense you can approve expense reports both in the mobile app or in the web version. The travel request is replaced with a new working method (dialogue with your employees) and is no longer approved in the system.
You can also add a temporary approver when on leave.
When an employee sends an expense report for approval, you will receive a notification in the app or an email from Hogia OpenHR Expenses & Travel.
You can log in to the system by clicking on the “To-Do-list" link in the email. You can also log in from KTH’s intranet, Services/Expenses & travel reimbursements (KTH-Expense). Here we show you how to attest on the web.

Once you have logged in, you will see a red check mark next to the "Approval" tab informing you that you have something to approve:

If you want to view/create your own transactions or expense reports, click on “Expenses”.
How to approve
Click Approval. You will now see two tabs, "To-Do" and !Approved". By default, the system displays the expense reports that need to be approved:
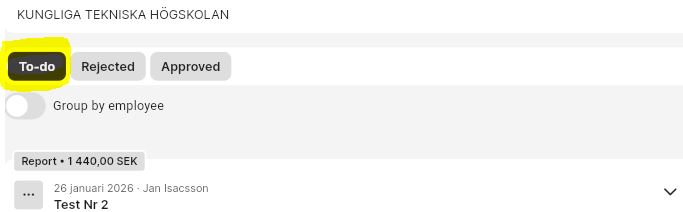
In the tabs, you can choose to view the reports grouped by employee.
Click on the report you want to certify, you will now see a summary on the right side:
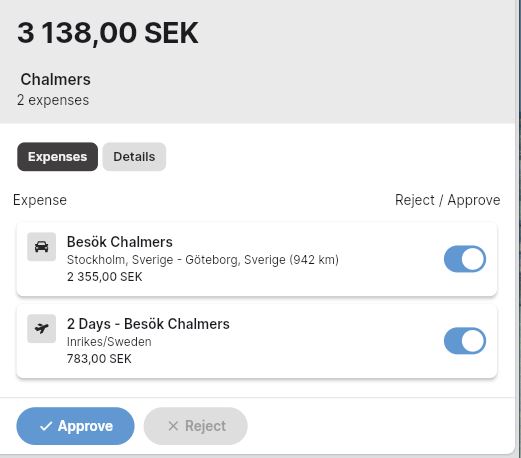
If you tap on the name of the first one, the transaction will open:
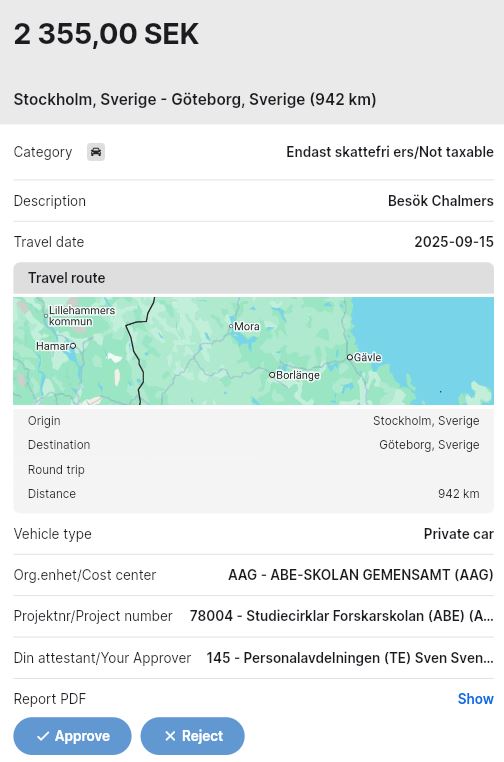
If it looks ok, then you can approve it. You do the same thing with the next transaction.
Press "Approve" again to approve the entire report.
If something is not correct in the expense report, press “Reject”. A box will open where you can write some comments to the employee
Once the expense report is either approved or rejected, it will disappear from your list of pending approval requests and be moved to "Approved" or "Rejected". The expense report will move forward in the flow, either for completion or payment.
The employee will receive an email from HogiaHR Utlägg & Resa stating that the expense report is approved or needs to be completed.
Approval history
To view your approval history, tap Approved. There you can group the search by employee. You can also see the expense reports that you have rejected under "Rejected".
Temporary approver (manager)
If you are on leave, you have the option to assign another manager who can approve instead of you for a certain period of time.
Press "Menu":

Then tap "Settings"

Att the bottom of the page, select "Approval settings":

Then tap "Add temporary approver":

Now you can fill out the form:
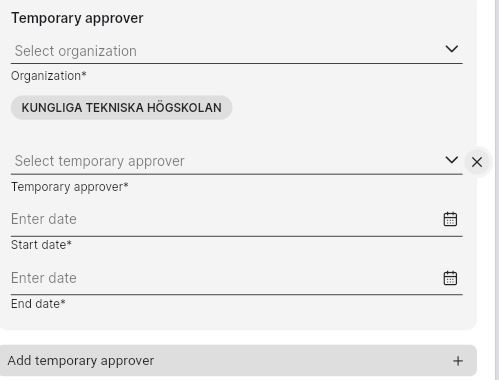
You have the option to assign multiple temporary approvers for different periods, just press "+".
Press "Save".