Network printers are printers that are located in a specific location and that are connected to KTH's network. To be able to print on any of them, you need to find, set up and activate them one by one on your computer.
Add a network printer
Here you can read about how to add a network printer to your computer.
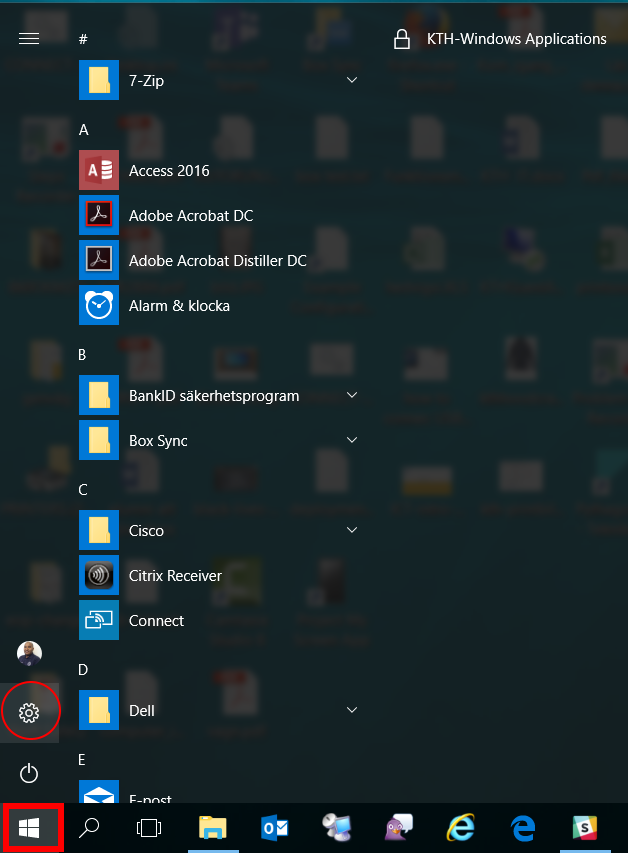
Press on "Windows" button and press on "Settings"
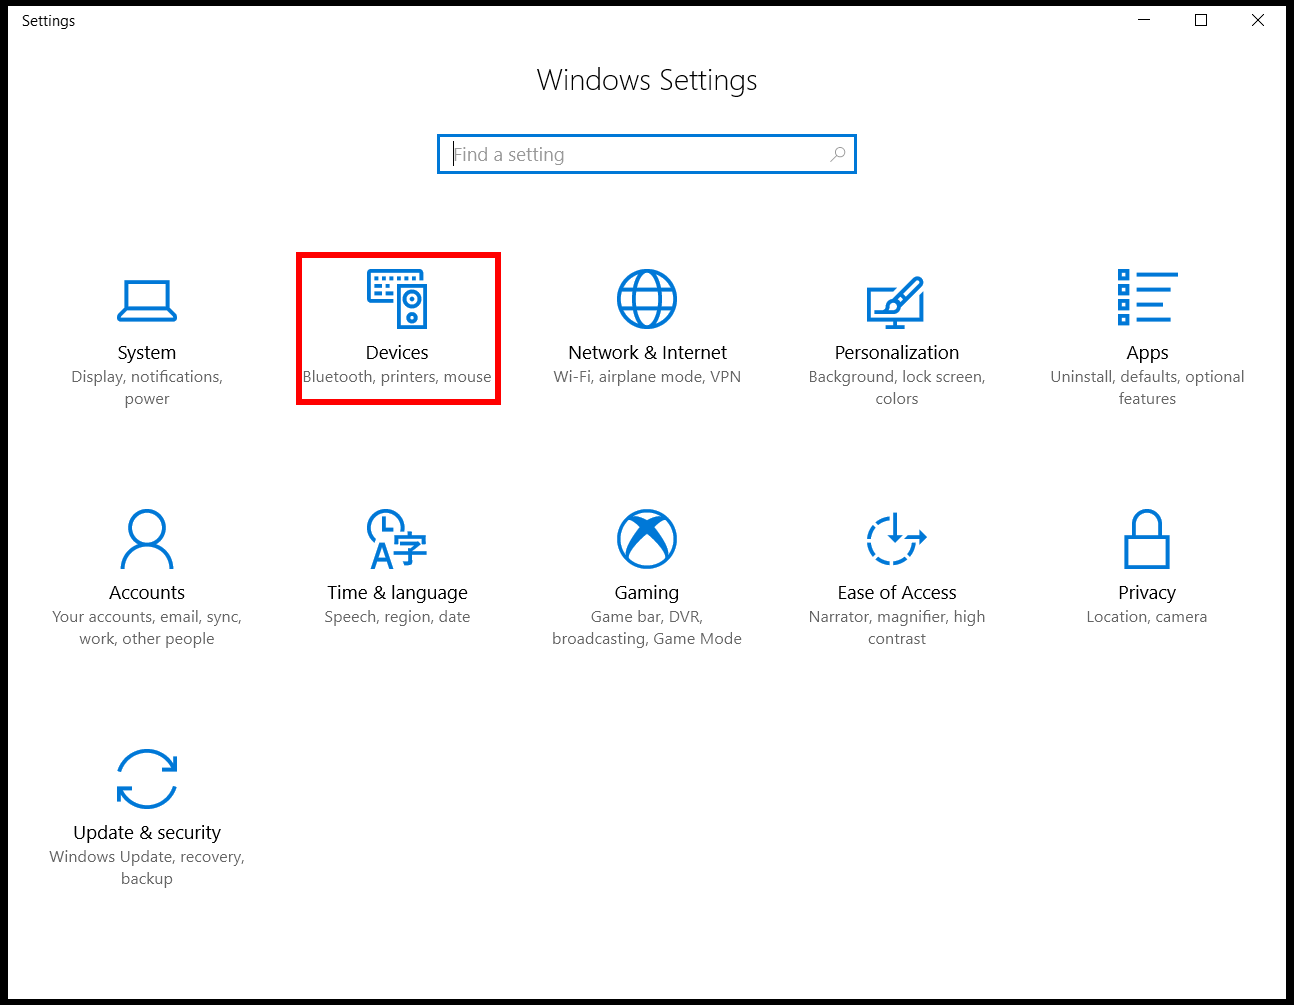
Select "Devices"in the top menu
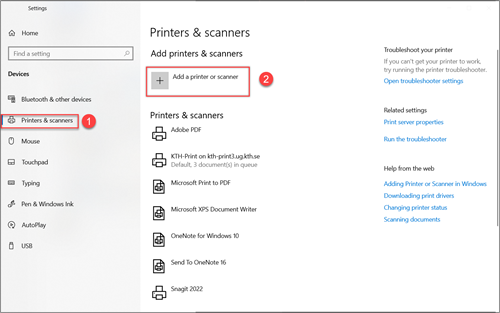
Select "Printer & scanners" (1) and click on "Add a printer or scanner" (2)
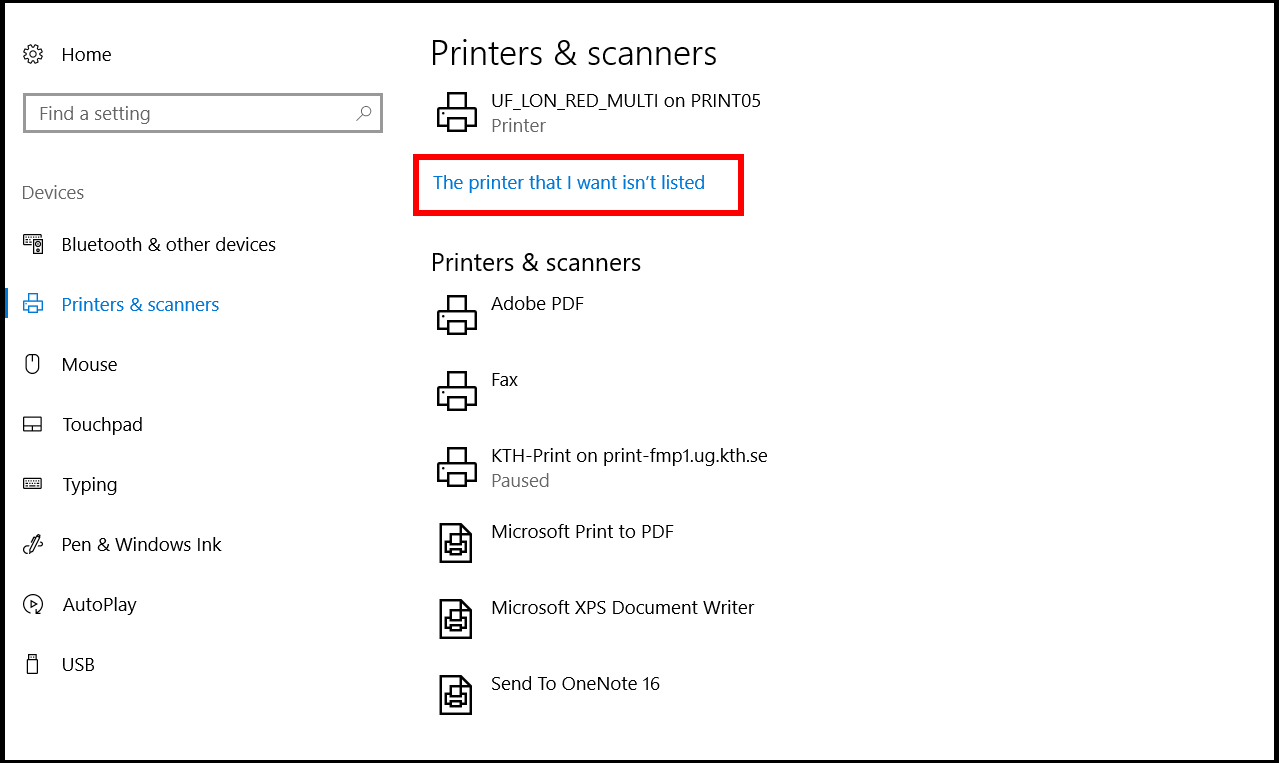
Select the option "The Printer that I want isn’t listed" and click on "Next"
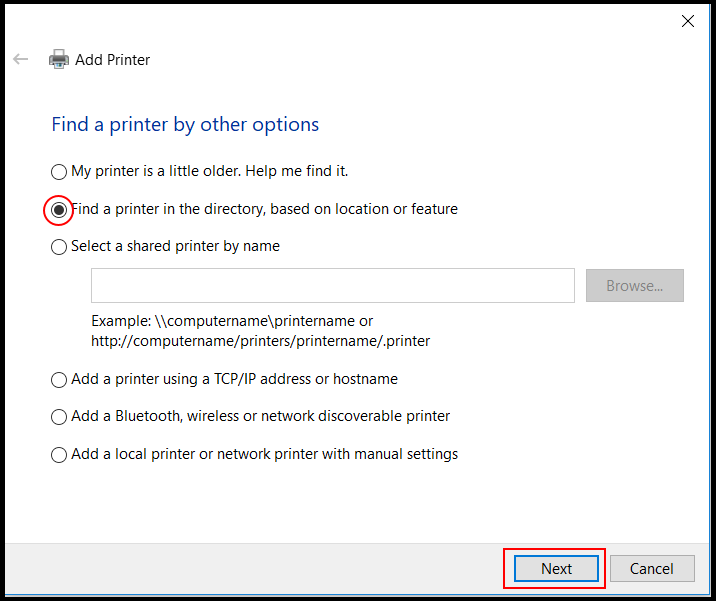
Choose "Find a printer in the directory, based on location or features" and "Next"
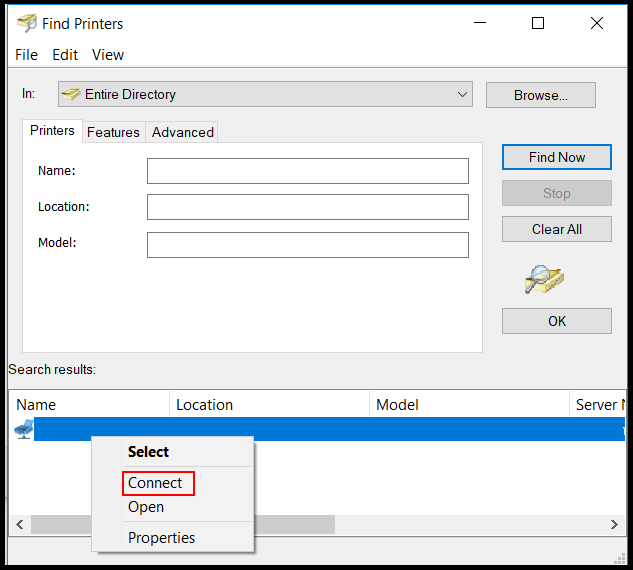
Type the name of the network printer and press "Find Now"
Right click on the printer located beneath in the search results and choose "Connect"to install the printer
If a login prompt comes up. Call KTH IT Support on 08-790 6600 and we will help you further
Instructions for adding a network printer
To be able to add network printers, you need permission. Please contact
it-support@kth.se
if you do not have the permission.
Start with getting the name of the printer's printing queue. Contact your local IT support or
it-support@kth.se
for this.
(In this example, we will use the printer with the queue name of lpd://print01.ug.kth.se/ABE_BYV_APOLLO)
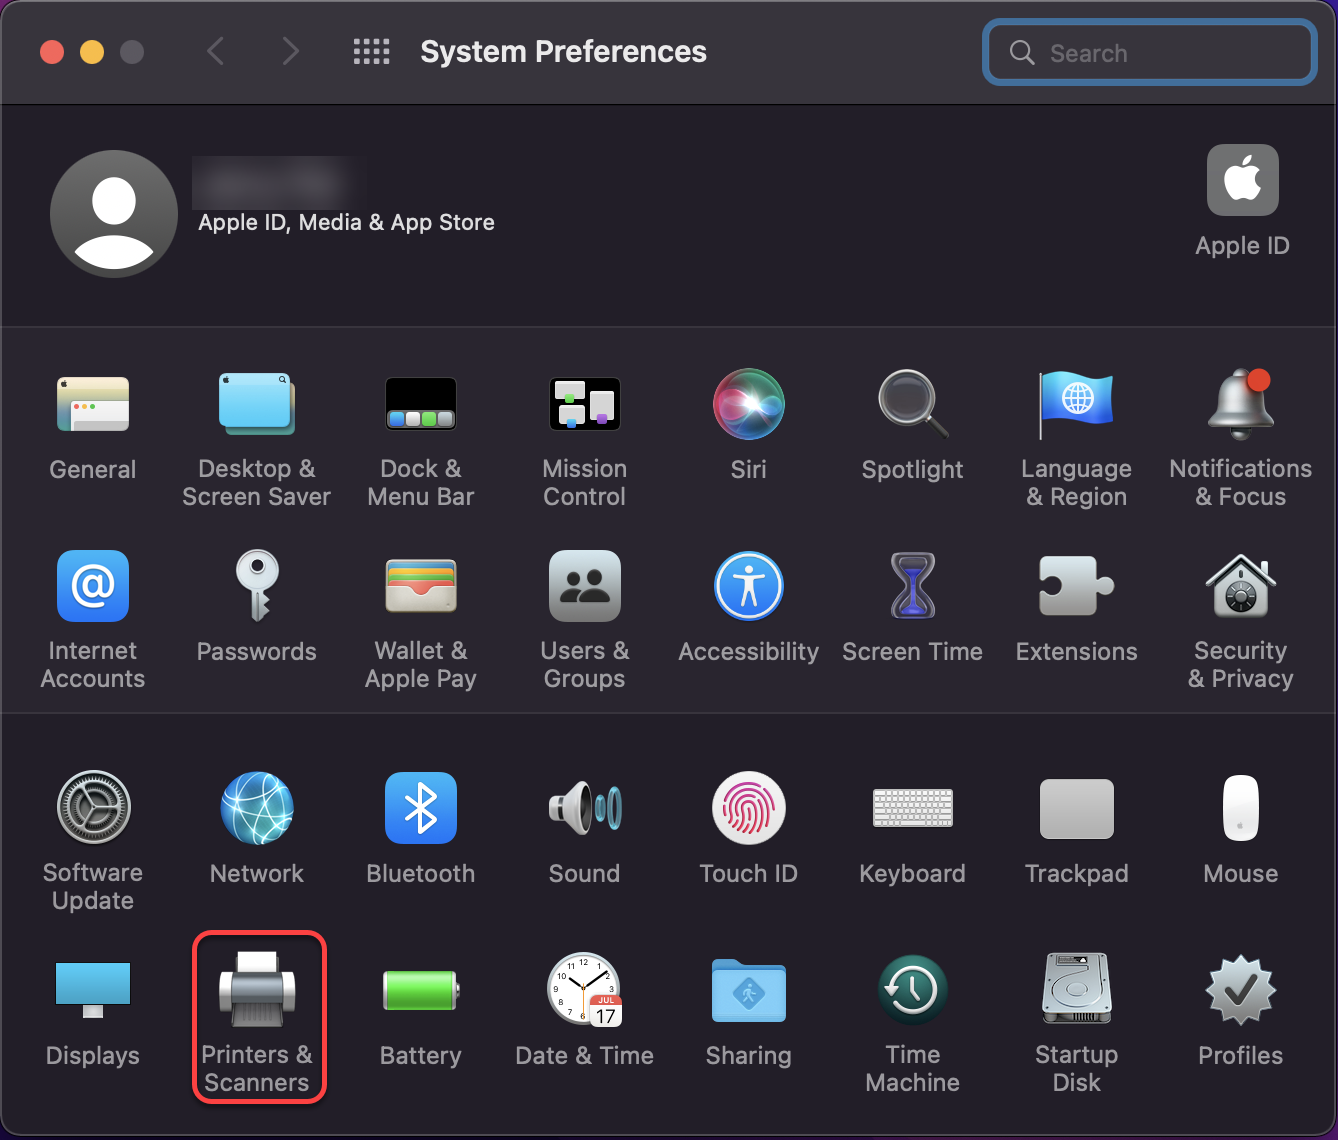
Go to System Preferences and choose “Printers and Scanners” or "Print & Scan".
Click the "+ button" to add a printer.
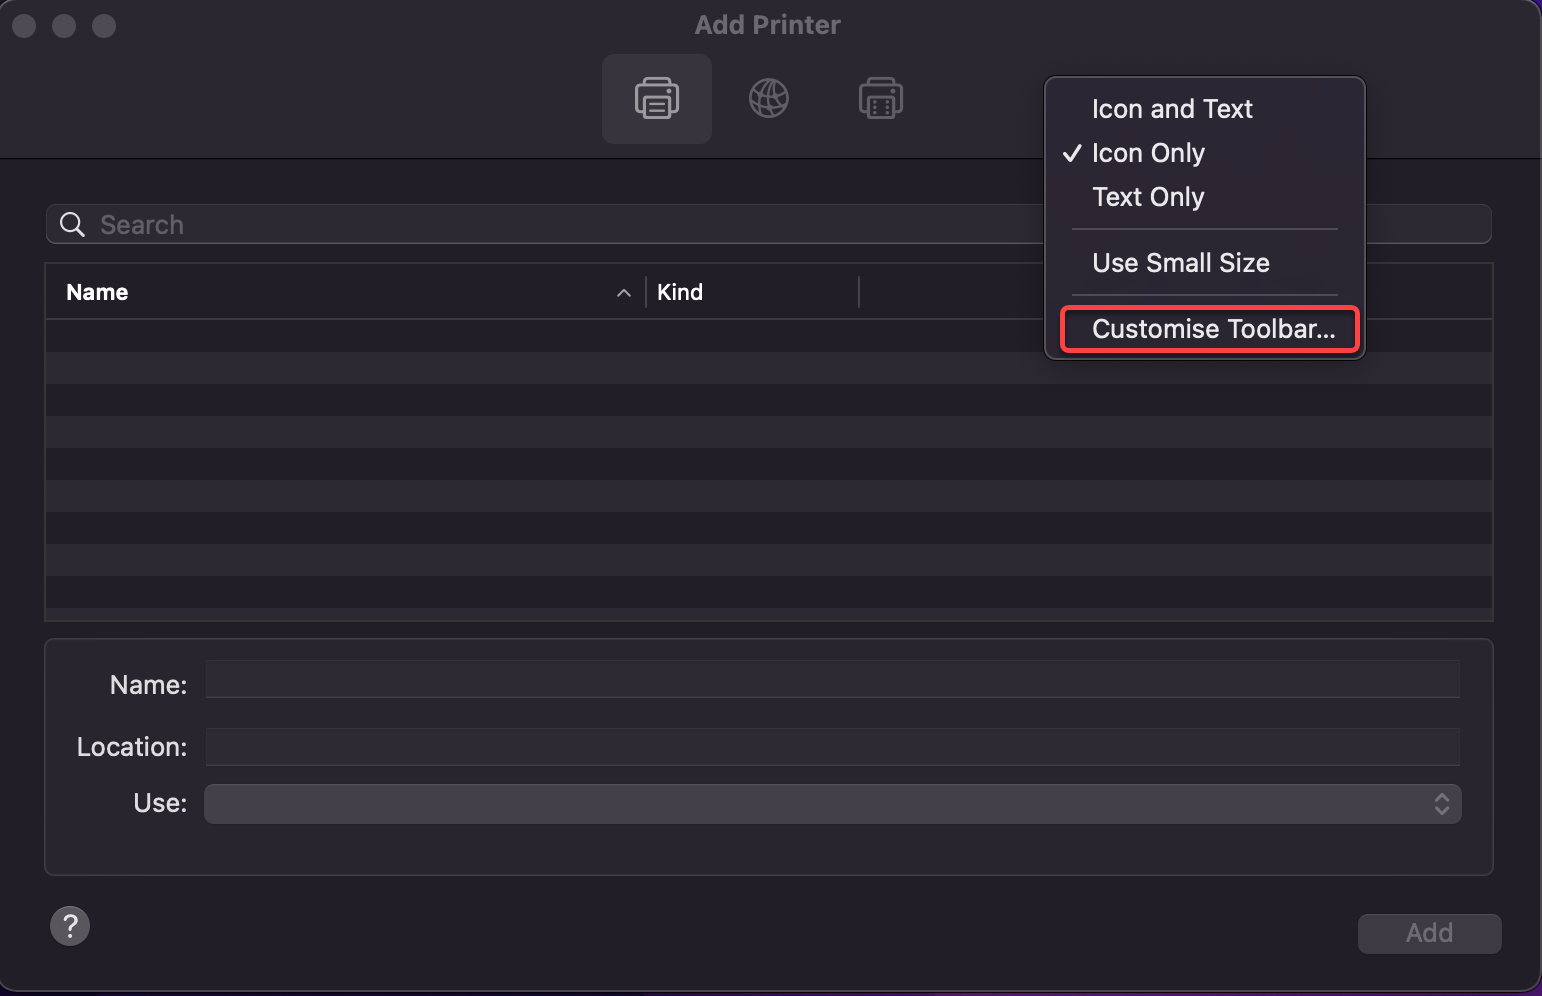
In order to be able to install a printer that uses a Windows printer server, we have to get access to that option in the Mac interface.
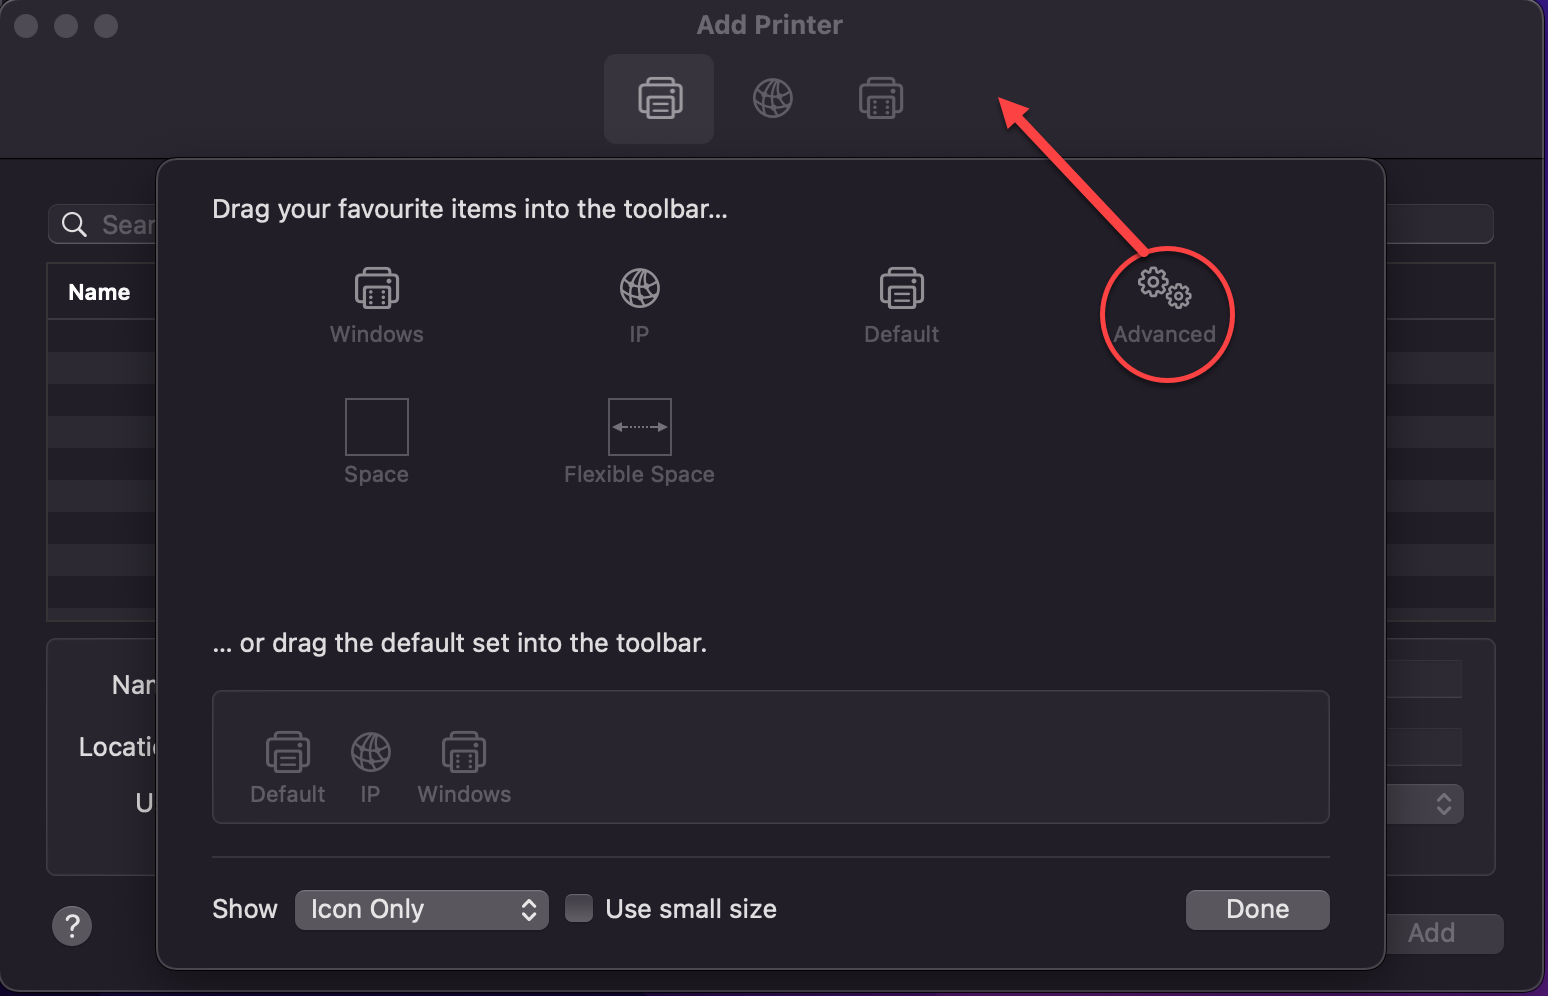
Right-click (or press the CTRL key while clicking) the "Default" icon (or any other icon on the toolbar), then choose "Customize Toolbar" from the menu.
Drag the "Advanced" icon to the toolbar and then click on "Done".
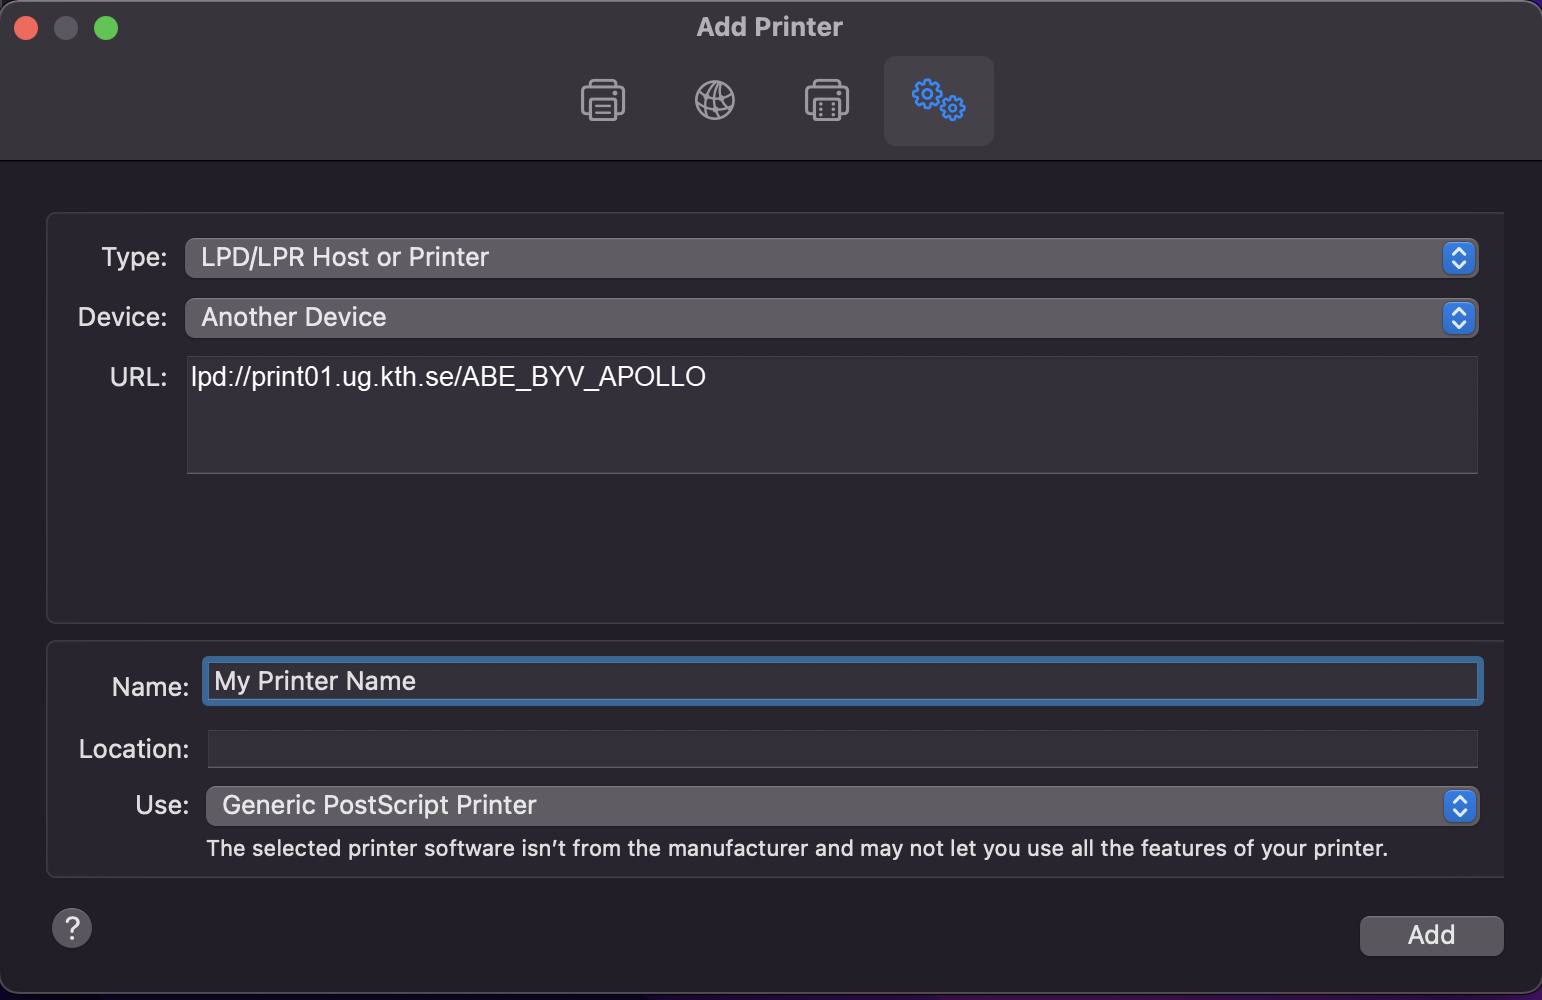
Click the "Advanced" icon that was added to the toolbar. Choose "LPD/LPR Host or Printer" from the Type pop-up menu. In the URL field, type the printer's queue address, in this example lpd://print01.ug.kth.se/ABE_BYV_APOLLO. Under ”Name” you can write any fitting name and under ”USE” choose ”Generic Postscript Printer” and then click on "Add".
You can choose to install manufacturer specific drivers, but then you must know the model of the printer and have the drivers for it Generally it is sufficient with the Mac Generic Postscript driver.
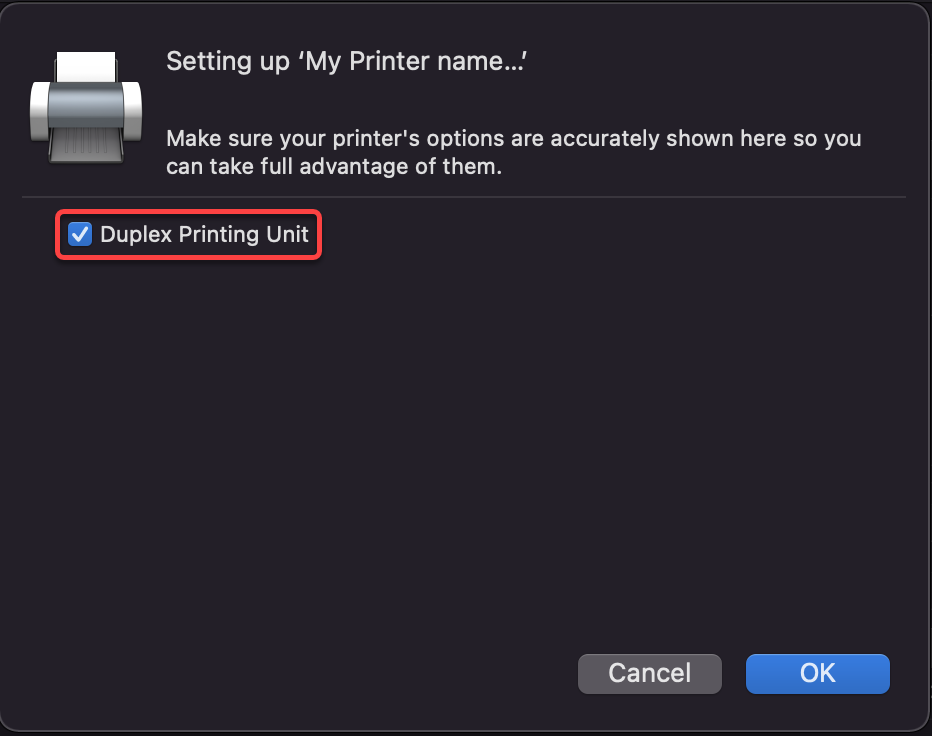
In the next dialog, check the "Duplex Printing Unit" so you can print double-sided.
Now the installation is done.
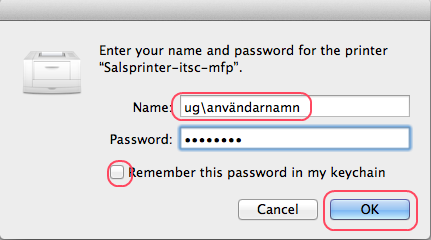
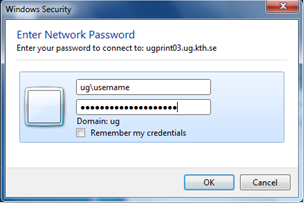
Sometimes when you are printing for the first, you will get a popup for log in/authentication.
You will have to authenticate with your KTH account to be able to print.
Enter your username (without @kth.se) like ug\username and password for your KTH account. You can choose to save it in the keychain.
We recommend that you first try and see that the authentication works before you save it, so you don't save an erroneous password.
If you get a message "Hold for authentication" then you can try to press a couple of times on the round arrow to the right of the message and type in your KTH account (with ug\) again, in some scenarios the mac will send the information in the wrong way during the first time.
If you get the same message multiple times, then you have probably entered the wrong username or password, or you don't have the rights to use that printer, if that's the case contact
To be able to add network printers, you need permission. Please contact
it-support@kth.se
if you do not have the permission.
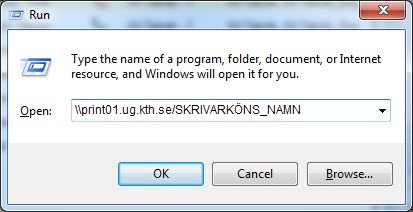
Start by bringing up the Run command box by pressing the Windows flag and R on the keyboard.
Then enter the path to the printer queue. But you need to know if the printer is on server print01 or print02. You also need to know the name of the printer. You can see this if you look at a colleague's computer, or you can contact IT-support.
Type in the format \\print server\ PRINTER_NAME (eg \\print01.ug.kth.se\UF_ESS_COLOR)
Enter your username (without @kth.se) like UG\username and password for your KTH account.
After that, your computer searches for the printer queue and also installs the correct drivers.