
Create an expense report
The expense report is where you claim expenses. Follow the step-by-step guide to create an expense claim. Do you have physical receipts? Submit them along with a printout of your expense claim.
Before you can create an expense report, you must register your expenses in KTH-RES.
Create an expense report (step-by-step guide)
1. Log in
- Log in to your Intranet page.
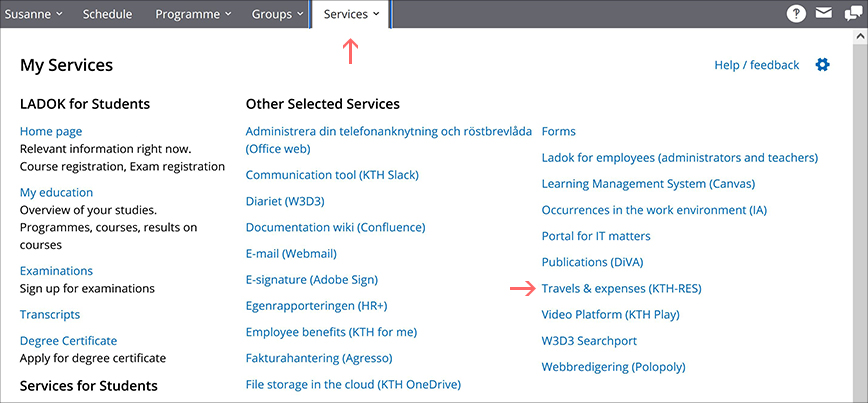
- Go to the 'Services' tab in the main menu.
- Click on the 'Travel & Expenses (KTH-RES)' link.
- You are now logged into KTH-RES!
2. Click on 'My transactions'
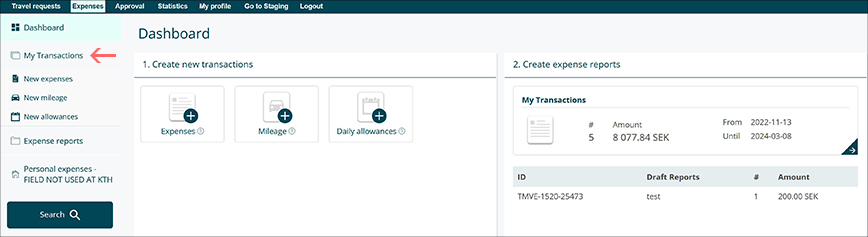
-
Go to 'My transactions' in the view on the left.
3. Select transactions
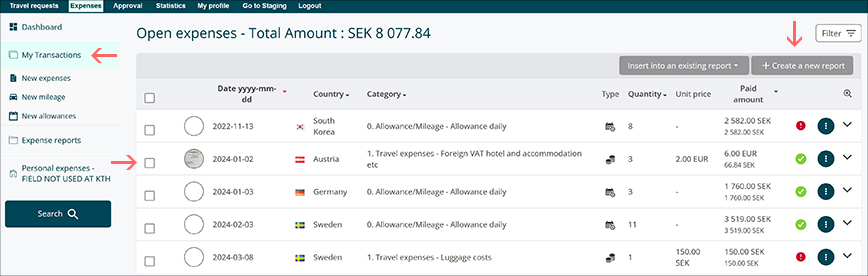
- Select the transactions you want to include in your expense report.
- Click 'Create new expense report'.
4. Name the expense report
- Choose a descriptive name for the expense report, e.g. 'Conference in the USA', and fill in the 'Expense report name' field.
- Click on the magnifying glass to the right of the 'Org Unit' field to bring up the drop down list.
5. Enter the cost center code
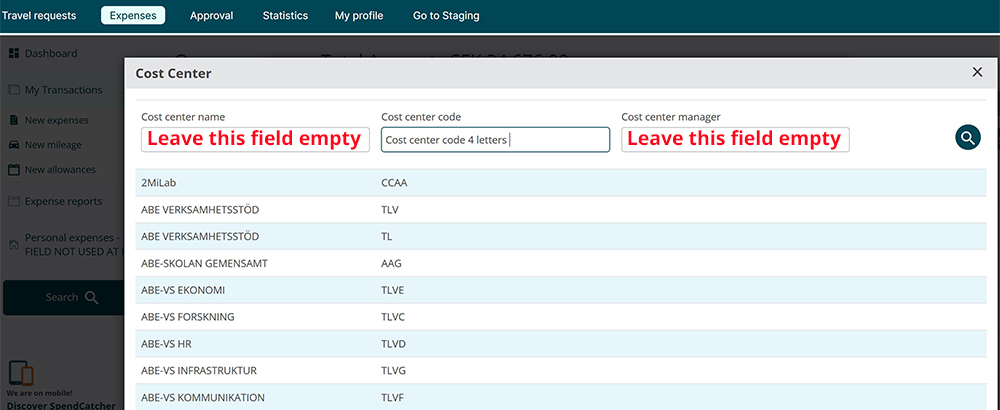
- Enter the code for your organisational unit in the 'Org Unit Code' field.
- Click on the magnifying glass on the far right to continue.
6. Select the organisational unit

- Select the 'Organisation Unit' from the list.
- Click the magnifying glass on the right.
7. Enter the Project Code
- Enter the project number in the 'Project Code' field. Leave the other fields blank.
- Click the magnifying glass on the far right.
8. Select projects from the list

- Select the project from the list.
9. Link any travel order
- Click on the magnifying glass to the right of the Travel Order field.
- Select the approved travel request from the list and it will be automatically linked.
10. Select the approver from the list
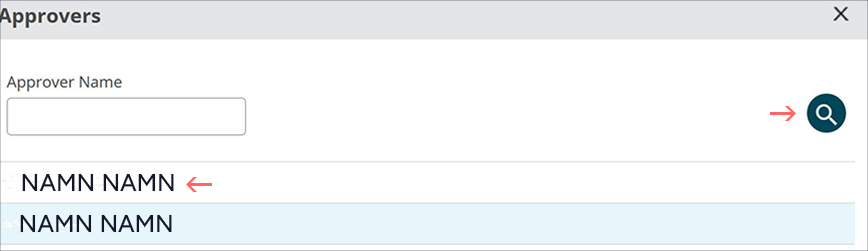
- Select the authorising officer from the list. Highlight the name so that it appears in the 'Authorising officer's name' field.
- Click on the magnifying glass on the right.
11. Select purpose and officer
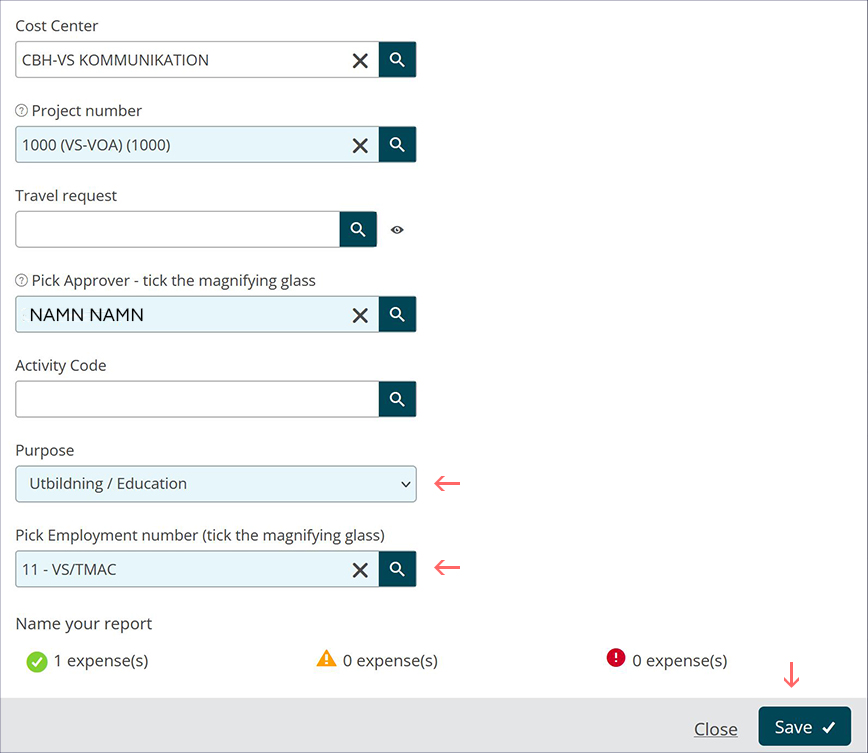
- Fill in the 'Purpose' field and select the purpose of your expenses/travel.
- Click on the magnifying glass to the right of the 'Select line number' field. Select the item number from the list.
- Save your expense report. The expense report is now preliminary.
12. Submit for review
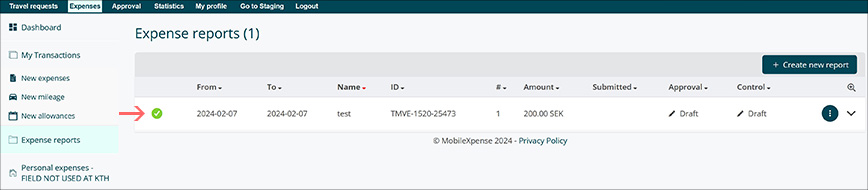
- Select the expense claim to submit.
- Submit your expense report for review by clicking the "Submit" button (the tick/symbol at the top right) or the "Submit" button at the bottom (not shown).
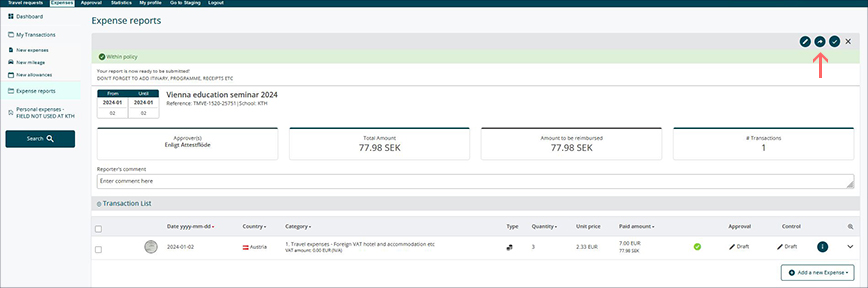
13. Submit report for review
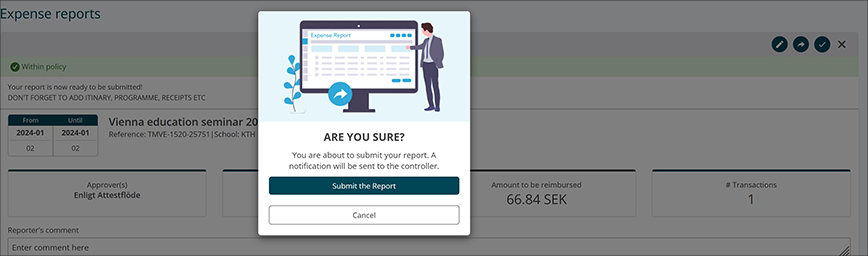
- Click the 'Submit the report' button.
- If you have physical receipts, you will also need to print a report.
- Staple your receipts in date order on a white A4 sheet of paper.