
Manual installation of the SCCM client
Note! Only for you with a Shared-admin computer.
If the SCCM client for some reason is not installed automatically it can be done manually.
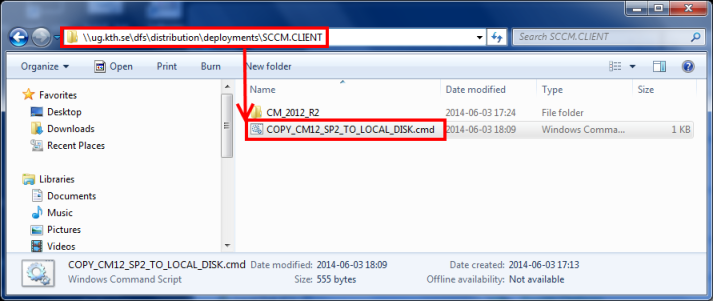
1. Open an Explorer window and go to \\files.ug.kth.se\root\distribution\sccm.client and double-click on the file "COPY_CM12_SP2_TO_LOCAL_DISK.cmd"
2. The installation files will be copied to the locan harddrive and the installation will start.
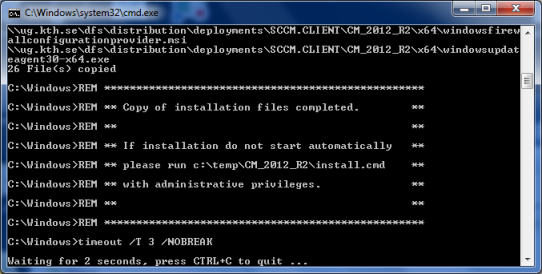
(If the installation doesnt start automatically it has to be done manually by running the file c:\temp\CM_2012_R2\install.cmd with administrative rights)
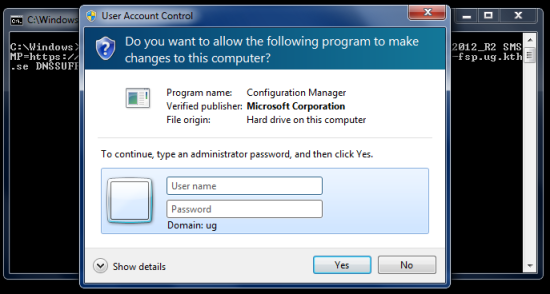
3. The installation starts after the copy is finnished. Start the installation by logging on in the login window that appears.
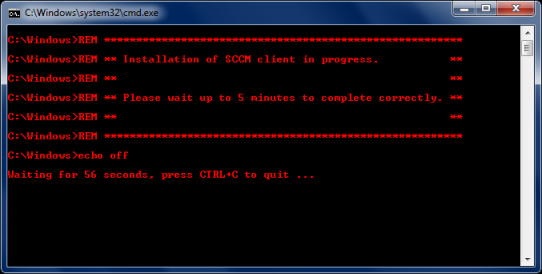
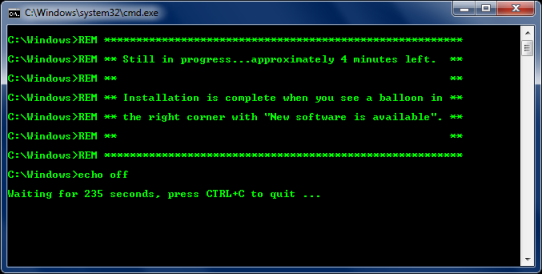
4. Read the information and don not cancel the installation process. The installation will take about 5 minutes.
5. After about 1 minute the SCCM client will show and you will ba able to see that not all information will be shown yet.
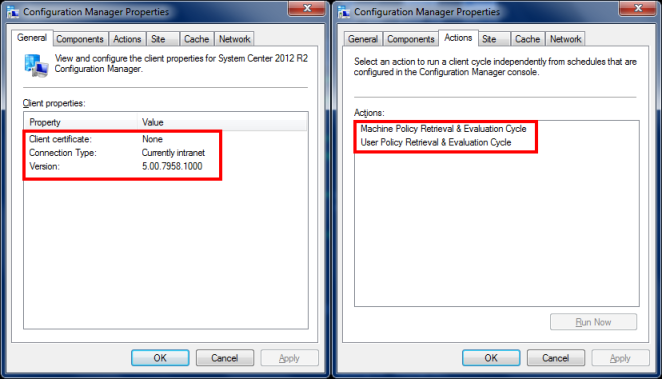
The Installation will take about 4 more minutes.
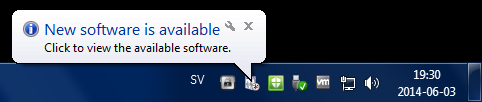
6. The installation is finnished when information appears in the lower right corner that some software is available.
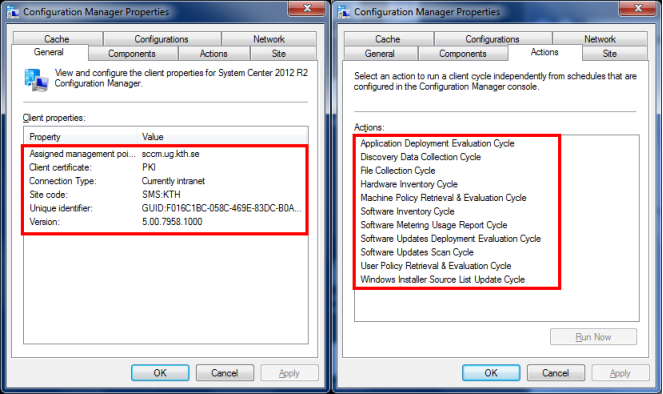
7. As confirmation tha the client is installed the SCCM window will update the information. This window can be closed with the OK button.
More information about how to open "Software Center" can be found at this link intra.kth.se/it/support/guider/wiks/programvara-i-kth-windows-software-center-1.466210