Detailed description of the layout and support in the tool for creating course memo
Editing view and overview in the tool
Once you have chosen the course offering and clicked on "Edit", you will end up in the editing view for your course memo. In the edit view, you see that the tool contains a number of predefined headings that are grouped into five tabs. When you are in a tab, you will in the right column see an overview of which headings are included in that tab. If a crossed-out eye appears to the right of the title, it means that the title will not be included in the course memo when it is published. If no crossed-out eye is visible to the right of the title, it will be included in the course memo when it is published.
To get an overview of which headings are included in the five tabs, click on the "Preview" button, which can simplify things for you when you later work with the content in the various tabs. To return to the edit view, click the "Edit" button.
Navigation in the tool
Each heading in the overview in the right-hand column is a link. Click on the link to quickly navigate directly to the heading in the edit view.
You also navigate in the tool by using the buttons in the bar at the bottom of the page. The buttons will always be displayed in step 2. The list contains the "Choose course offering" button (which takes you back to the page where you select course offering and saved drafts), the "Save draft" button (which saves your changes in the course memo you are working on), the "Exit (save draft)" button (which saves your draft and takes you to the tool's home page) and finally the "Preview" button which takes you to the "Preview and publish" page.
Support in the tool
The image and text below will help you understand how to use the support provided in the tool.

1. Information about heading
Click on the information icon to the right of each heading to get an explanation of the heading. The information also describes why the students need the information under the current heading. Finally, you also get an explanation of how to edit the content under the heading.
2. Edit content under a heading
Edit the content under a heading by clicking the "Edit" button to the right of the heading. After clicking the button, "Show guidance" an editor where you can write and format the content will appear. In edit mode, the "Close edit mode" button is displayed. Click on it to exit edit mode.
3. Show guidance for heading
Take part of explanations and tips by folding out "Show guidance". It explains what you could write under each heading and in some cases gives examples and links to more detailed information about the current heading.
4. Text editor
Write and format the content under the heading in the editor. In the editor, you can, for example, change text to become a subheading, format bold and italics, create a table and lists. When you exit the editor, your content will be saved automatically.
5. Include elective heading
You can choose whether you want to include certain headings in your course memo or not. Check "Include" to use an elective heading in your course memo. Uncheck "Include" if you do not want to use the heading.
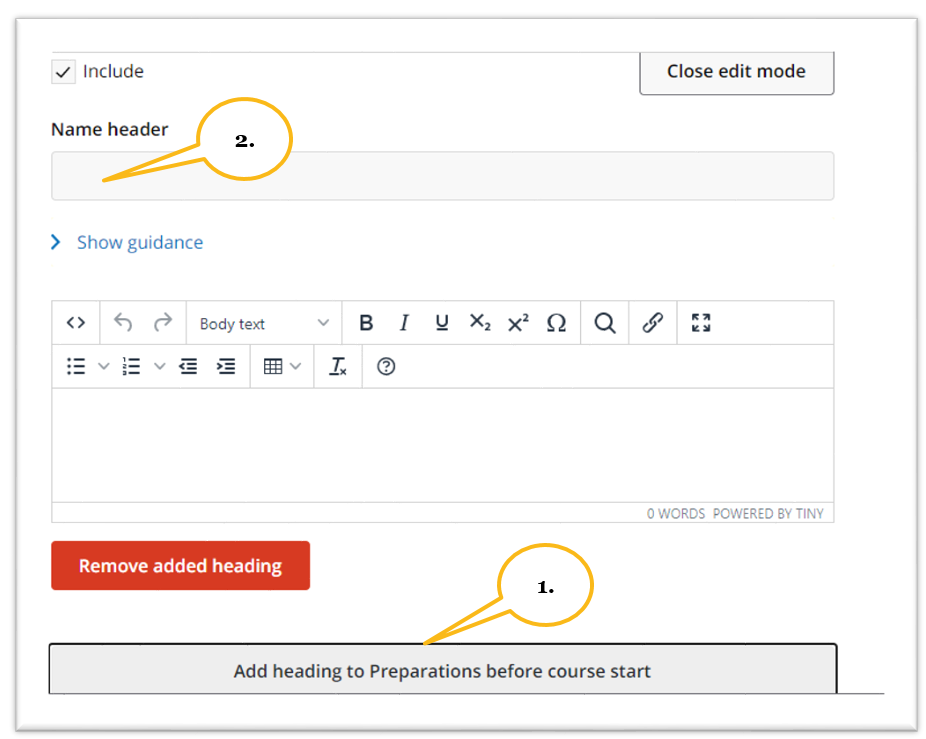
Add your own heading
At the bottom of each tab you can add your own heading by clicking on the "Add heading" button (1). Enter the title of your heading (2) and then the content under the heading. Once you have added your own heading, edit the content under the heading and include it in the same way as for other headings. You can delete your own added heading by clicking on the "Edit" button and in edit mode click on the "Remove added heading" button. It is not possible to add your own heading under the Contacts section.
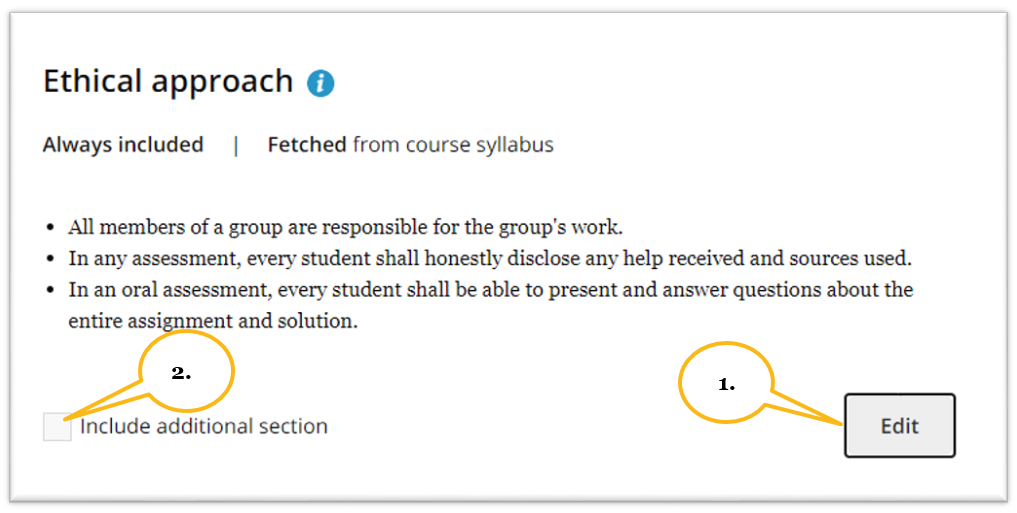
Fixed headings that are "editable"
There are fixed headings (always included) where you can add additional text below the text already displayed from Kopps. Read more about different types of headings on the page The template and headings for course memo . Add additional text by clicking on the "Edit" button (1), enter your text and tick "Include additional section" (2) for the section to appear in your course memo.