
Register expenses in KTH-Expense
The easiest way to register your expenses is to take a photo of them with the app "Hogia Open HR Expenses & Travel”. The system analyzes your receipt and automatically suggests expense category, amount, VAT, and currency. You then only need to check and fill in the remaining information.
If you want to register in the web version, please do the following.
How to register
You register a new expense using the plus icon or by dragging or uploading a receipt:
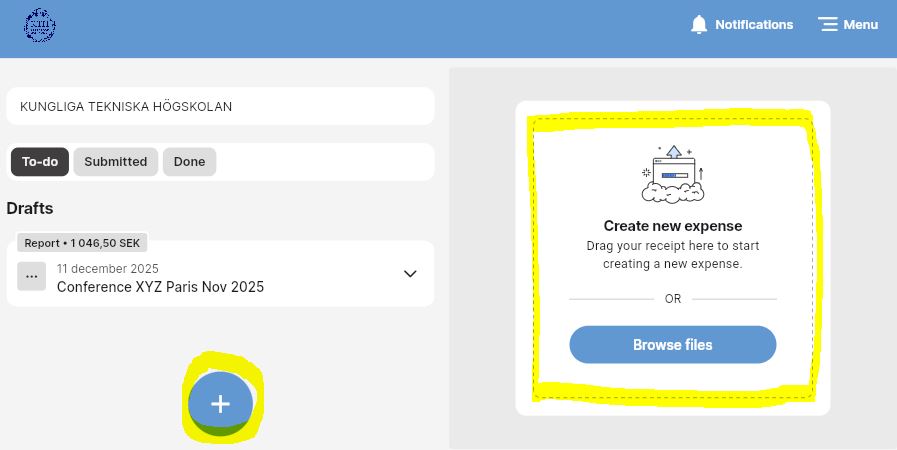
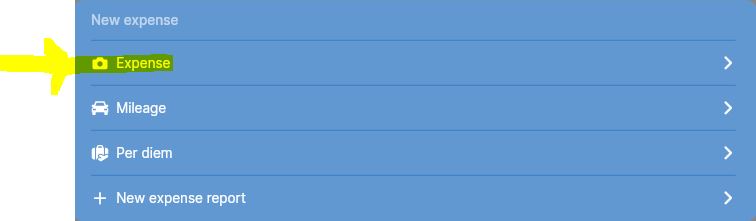
1) Press “+”, then select “Expense”.
2) Add a scanned receipt, the system will interpret some of the information, such as amount and VAT. Then fill in the remaining fields:
-
Description: here you can enter a little more information about the expense, e.g. reason why you did not use the procured suppliers.
-
Select category: here you can select expense types that relate to business trips but also other types of expenses.
-
Date of purchase: if the system has not interpreted the date from the scanned receipt, enter the date according to the receipt.
-
Amount incl. VAT: the system interprets the amount from the receipt, can be changed if necessary.
-
VAT: the systemet interprets the VAT from the receipt, can be changed if necessary.
-
Currency: the system will automatically fill in the exchange rate. If you have had a different exchange rate, you can change it manually, but don’t forget to attach a verification of your rate.
-
Select expense report: here you can enter a name for a new report or select an existing report (that you have not submitted for approval).
-
Select deviation from policy: Select deviation from the drop-down list. Applies only to expenses for domestic taxis, domestic and international flights, domestic and international accommodation.
-
Cost center: filled in by default. Can be changed to another cost center if necessary using the dropdown list.
-
Project: select the project number using the dropdown list or by searching for the number.
-
Activity: Not mandatory. Select from the dropdown list if the project number is linked to an activity code.
-
Your approver: Your approver is filled in by default. Here you can change to another approver if necessary, for example if the expense is to be posted to another department or school. In the search field, you can search for the name of the approver.
-
Attachments: here you can attach documents in addition to the scanned receipts. Note: image format or pdf only.
-
Comment: here you can enter more information for the reviewer or approver, for example when your expense report was sent back to you.
-
Split receipt: if a receipt contains different types of expenses, you can divide the receipt in two or more expense categories.
3) Press “Save” to save the transaction.
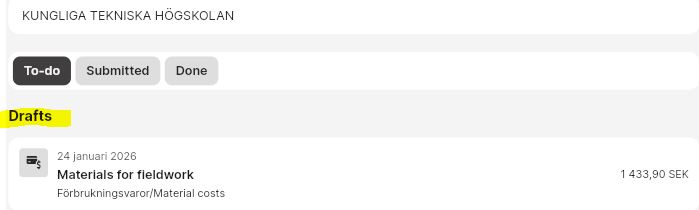
4) Saved expense is now visible on the dashboard under the heading “Drafts” in the “To-do” folder.
5) If you have already linked the expense to an expense report, you can click on the report and choose to submit it when all expenses and allowances are added to the same trip.
Note
-
Receipts for expenses that are older than one year have expired and will not be approved.
-
You cannot register expenses with a negative amount, except for reduction of allowance, see guides for allowances.
More information can be read here: Important information about expense reports and reimbursements
In Meals with or without tax benefits? you can read more about the expense type "Work meal".